
春云中如何断路器聚合监控,很多新手对此不是很清楚,为了帮助大家解决这个难题,下面小编将为大家详细讲解,有这方面需求的人可以来学习下,希望你能有所收获。
一、准备工作
把以前的项目服务feign进行同样的改造。
二、新建专家项目服务涡轮
1、新建pom.xml
项目xmlns=’ http://aven。阿帕奇。org/POM/4。0 .0 ‘ xmlns : xsi=’ http://www。w3。org/2001/XMLSchema-instance ‘
xsi :架构位置=’ http://aven。阿帕奇。org/POM/4。0 .0http://aven。阿帕奇。org/xsd/maven-4。0 .0 .xsd ‘
模型版本4 .0 .0/模型版本
groupIdwg/groupId
artifactIdservice _涡轮机/artifactId
版本0 .0 .1-快照/版本
包装罐/包装
名称服务_涡轮机/名称
urlhttp://maven.apache.org/url
性能
项目。建造。sourceencodingutf-8/项目。建造。源编码
项目。报道。outputen coding TF-8/项目。报道。输出编码
spring-cloud.versionGreenwich.RELEASE/spring-cloud.version
java.version1.8/java.version
/properties
父母
groupIdorg.springframework.boot/groupId
artifactId弹簧-启动-启动-父/artifactId
version2.1.1.RELEASE/version
relativePath/!- lookupparentfromrepository –
/家长
属国
属国
groupIdorg.springframework.boot/groupId
人工智能弹簧-启动-启动器-致动器/人工智能
/依赖性
属国
groupIdorg.springframework.cloud/groupId
artifactIdspring-cloud-starter-网飞-子宫/人造物品
Id>
</dependency>
<dependency>
<groupId>org.springframework.cloud</groupId>
<artifactId>spring-cloud-starter-netflix-hystrix-dashboard</artifactId>
</dependency>
<dependency>
<groupId>org.springframework.cloud</groupId>
<artifactId>spring-cloud-starter-netflix-eureka-client</artifactId>
</dependency>
<dependency>
<groupId>org.springframework.boot</groupId>
<artifactId>spring-boot-starter-web</artifactId>
</dependency>
<dependency>
<groupId>org.springframework.cloud</groupId>
<artifactId>spring-cloud-starter-openfeign</artifactId>
</dependency>
<dependency>
<groupId>org.springframework.cloud</groupId>
<artifactId>spring-cloud-starter-netflix-turbine</artifactId>
</dependency>
<dependency>
<groupId>junit</groupId>
<artifactId>junit</artifactId>
<scope>test</scope>
</dependency>
</dependencies>
<dependencyManagement>
<dependencies>
<dependency>
<groupId>org.springframework.cloud</groupId>
<artifactId>spring-cloud-dependencies</artifactId>
<version>${spring-cloud.version}</version>
<type>pom</type>
<scope>import</scope>
</dependency>
</dependencies>
</dependencyManagement>
</project>
2、新建ServiceTurbineApplication.java
package wg;
import org.springframework.boot.SpringApplication;
import org.springframework.boot.autoconfigure.SpringBootApplication;
import org.springframework.cloud.client.circuitbreaker.EnableCircuitBreaker;
import org.springframework.cloud.client.discovery.EnableDiscoveryClient;
import org.springframework.cloud.netflix.eureka.EnableEurekaClient;
import org.springframework.cloud.netflix.hystrix.EnableHystrix;
import org.springframework.cloud.netflix.hystrix.dashboard.EnableHystrixDashboard;
import org.springframework.cloud.netflix.turbine.EnableTurbine;
import org.springframework.cloud.openfeign.EnableFeignClients;
@SpringBootApplication
@EnableEurekaClient
@EnableDiscoveryClient
@EnableFeignClients
@EnableHystrix
@EnableHystrixDashboard
@EnableCircuitBreaker
@EnableTurbine
public class ServiceTurbineApplication {
	public static void main(String[] args) {
        SpringApplication.run( ServiceTurbineApplication.class, args );
    }
}
3、新建application.yml
server:
  port: 8767
spring:
  application:
    name: service-turbine
eureka:
  client:
    serviceUrl:
      defaultZone: http://localhost1:8761/eureka/,http://localhost2:8861/eureka/
management:
  endpoints:
    web:
      exposure:
        include: "*"
      cors:
        allowed-origins: "*"
        allowed-methods: "*"
turbine:
  app-config: service-feign,service-ribbon
  aggregator:
    clusterConfig: default
  clusterNameExpression: new String("default")
  combine-host: true
  instanceUrlSuffix:
    default: actuator/hystrix.stream
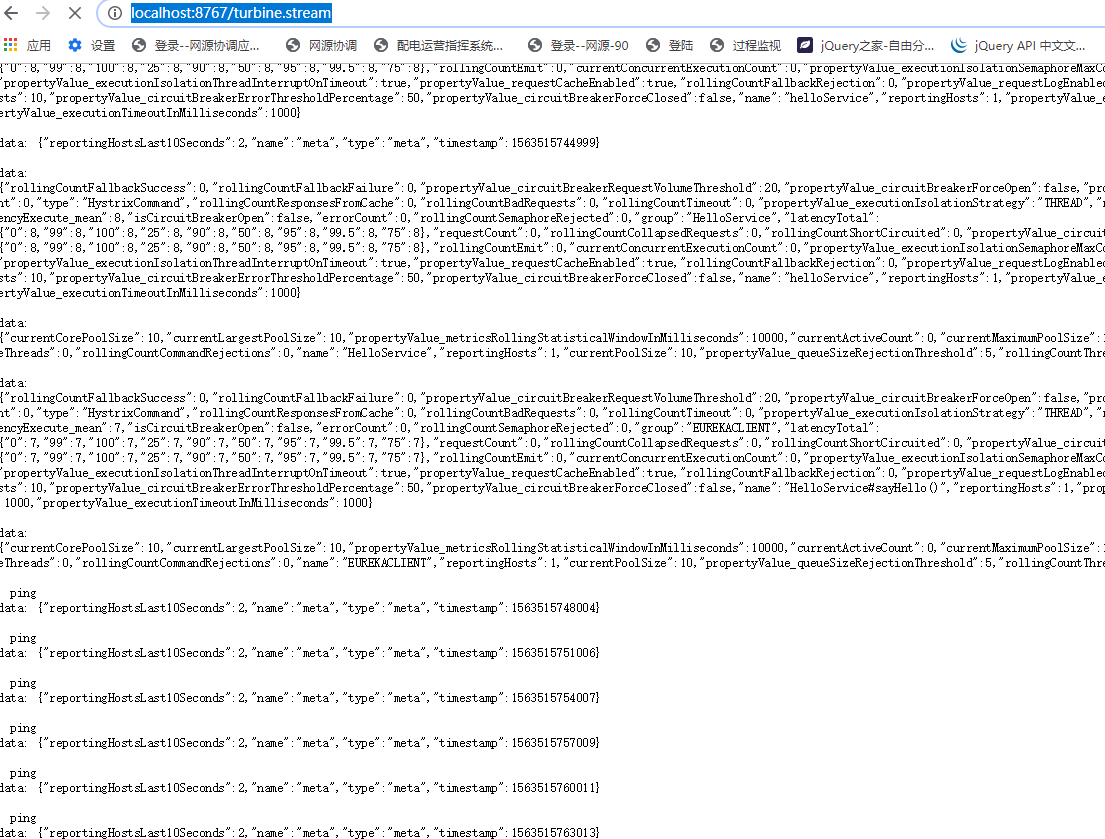
4、启动项目,访问:http://localhost:8767/turbine.stream

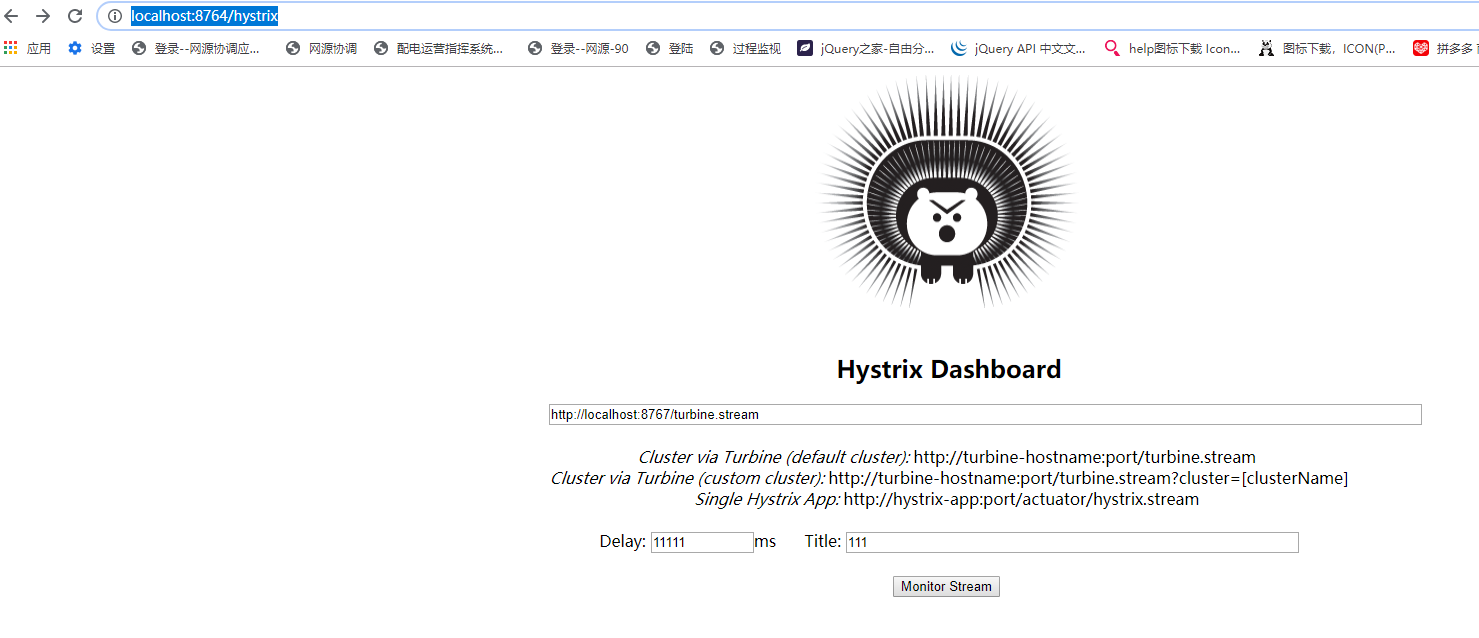
5、访问:http://localhost:8764/hystrix ,填写内容
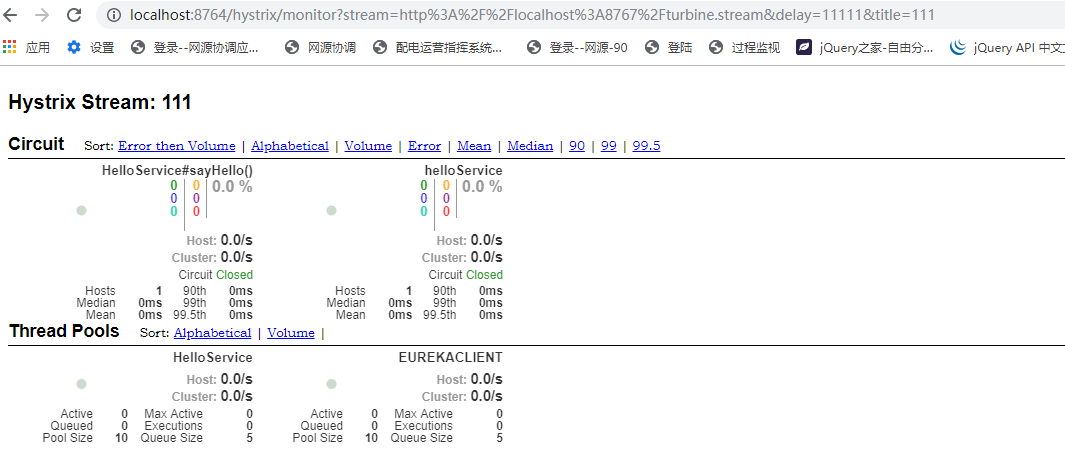
6、点击监控,然后访问:http://localhost:8765/hello,http://localhost:8764/hello
看完上述内容是否对您有帮助呢?如果还想对相关知识有进一步的了解或阅读更多相关文章,请关注行业资讯频道,感谢您对的支持。
内容来源网络,如有侵权,联系删除,本文地址:https://www.230890.com/zhan/51143.html
