
这篇文章主要为大家展示了”如何解决老兄中关系型数据库乱码问题”,内容简而易懂,条理清晰,希望能够帮助大家解决疑惑,下面让小编带领大家一起研究并学习一下”如何解决老兄中关系型数据库乱码问题”这篇文章吧。
mac mysql乱码的解决办法:1、找到并打开my.cnf文件;2、添加代码为”字符集服务器=utf8 init _ connect=’ SET NAMES utf8.”即可。

本文操作环境:macOS10.15系统、Mysql5.7.26版、macbook pro 2020电脑。
mac下MySQL出现乱码的解决方法
本文说下老兄下的处理,其实处理方式是一样的,我电脑的关系型数据库版本是5.7.26日志
网上很多帖子都说去/usr/local/MySQL/support-文件目录拷贝my-default.cnf到/etc/my.cnf然后和Linux操作系统操作系统的修改方式就一样了,这里说明下:Mac版关系型数据库在5.7.18之后在my-default.cnf就取消了,于是找不到my-default.cnf也找不到my.cnf,my-default.cnf是之前的版本中才有的文件。
假如不幸你的关系型数据库版本恰好是5.7.18之后的,那么直接新建即可
CD/等
sudovimmy.cnf拷贝以下代码到my.cnf中
#示例MySQL configFileformediumsystems .
#
#这是一个内存很小的系统(3200万-6400万),MySQL在其中运行
#一个重要部分,或系统支持128 mysqlissedstetogether
#其他程序(如网站服务器)
#
# MySQL程序查找选项文件
# locationswhichdependdeployment platform .
#您可以修改您可以将Youcancopythisoptionfiletooneofthose
#地点。有关这些位置的信息,请参见:
# http://dev。MySQL。com/doc/MySQL/en/option-files。html #
#在isfile中,您可以选择该程序支持的选项。
#如果不间断空格
;you want to know which options a program supports, run the program
# with the "–help" option.
# The following options will be passed to all MySQL clients
[client] default-character-set=utf8
#password = your_password
port = 3306
socket = /tmp/mysql.sock
# Here follows entries for some specific programs
# The MySQL server
[mysqld]
character-set-server=utf8
init_connect='SET NAMES utf8
port = 3306
socket = /tmp/mysql.sock
skip-external-locking
key_buffer_size = 16M
max_allowed_packet = 1M
table_open_cache = 64
sort_buffer_size = 512K
net_buffer_length = 8K
read_buffer_size = 256K
read_rnd_buffer_size = 512K
myisam_sort_buffer_size = 8M
character-set-server=utf8
init_connect='SET NAMES utf8'
# Don't listen on a TCP/IP port at all. This can be a security enhancement,
# if all processes that need to connect to mysqld run on the same host.
# All interaction with mysqld must be made via Unix sockets or named pipes.
# Note that using this option without enabling named pipes on Windows
# (via the "enable-named-pipe" option) will render mysqld useless!
#
#skip-networking
# Replication Master Server (default)
# binary logging is required for replication
log-bin=mysql-bin
# binary logging format – mixed recommended
binlog_format=mixed
# required unique id between 1 and 2^32 – 1
# defaults to 1 if master-host is not set
# but will not function as a master if omitted
server-id = 1
# Replication Slave (comment out master section to use this)
#
# To configure this host as a replication slave, you can choose between
# two methods :
#
# 1) Use the CHANGE MASTER TO command (fully described in our manual) –
# the syntax is:
#
# CHANGE MASTER TO MASTER_HOST=<host>, MASTER_PORT=<port>,
# MASTER_USER=<user>, MASTER_PASSWORD=<password> ;
#
# where you replace <host>, <user>, <password> by quoted strings and
# <port> by the master's port number (3306 by default). #
# Example:
#
# CHANGE MASTER TO MASTER_HOST='125.564.12.1', MASTER_PORT=3306,
# MASTER_USER='joe', MASTER_PASSWORD='secret';
#
# OR
#
# 2) Set the variables below. However, in case you choose this method, then
# start replication for the first time (even unsuccessfully, for example
# if you mistyped the password in master-password and the slave fails to
# connect), the slave will create a master.info file, and any later
# change in this file to the variables' values below will be ignored and # overridden by the content of the master.info file, unless you shutdown
# the slave server, delete master.info and restart the slaver server.
# For that reason, you may want to leave the lines below untouched
# (commented) and instead use CHANGE MASTER TO (see above)
#
# required unique id between 2 and 2^32 – 1
# (and different from the master)
# defaults to 2 if master-host is set
# but will not function as a slave if omitted
#server-id = 2
#
# The replication master for this slave – required
#master-host = <hostname>
#
# The username the slave will use for authentication when connecting
# to the master – required
#master-user = <username>
#
# The password the slave will authenticate with when connecting to
# the master – required
#master-password = <password>
#
# The port the master is listening on.
# optional – defaults to 3306
#master-port = <port>
#
# binary logging – not required for slaves, but recommended
#log-bin=mysql-bin
# Uncomment the following if you are using InnoDB tables
#innodb_data_home_dir = /usr/local/mysql/data
#innodb_data_file_path = ibdata1:10M:autoextend
#innodb_log_group_home_dir = /usr/local/mysql/data
# You can set .._buffer_pool_size up to 50 – 80 %
# of RAM but beware of setting memory usage too high
#innodb_buffer_pool_size = 16M
#innodb_additional_mem_pool_size = 2M
# Set .._log_file_size to 25 % of buffer pool size
#innodb_log_file_size = 5M
#innodb_log_buffer_size = 8M
#innodb_flush_log_at_trx_commit = 1
#innodb_lock_wait_timeout = 50
[mysqldump]
quick
max_allowed_packet = 16M
[mysql]
no-auto-rehash
# Remove the next comment character if you are not familiar with SQL
#safe-updates default-character-set=utf8
[myisamchk]
key_buffer_size = 20M
sort_buffer_size = 20M
read_buffer = 2M
write_buffer = 2M
[mysqlhotcopy]
interactive-timeout
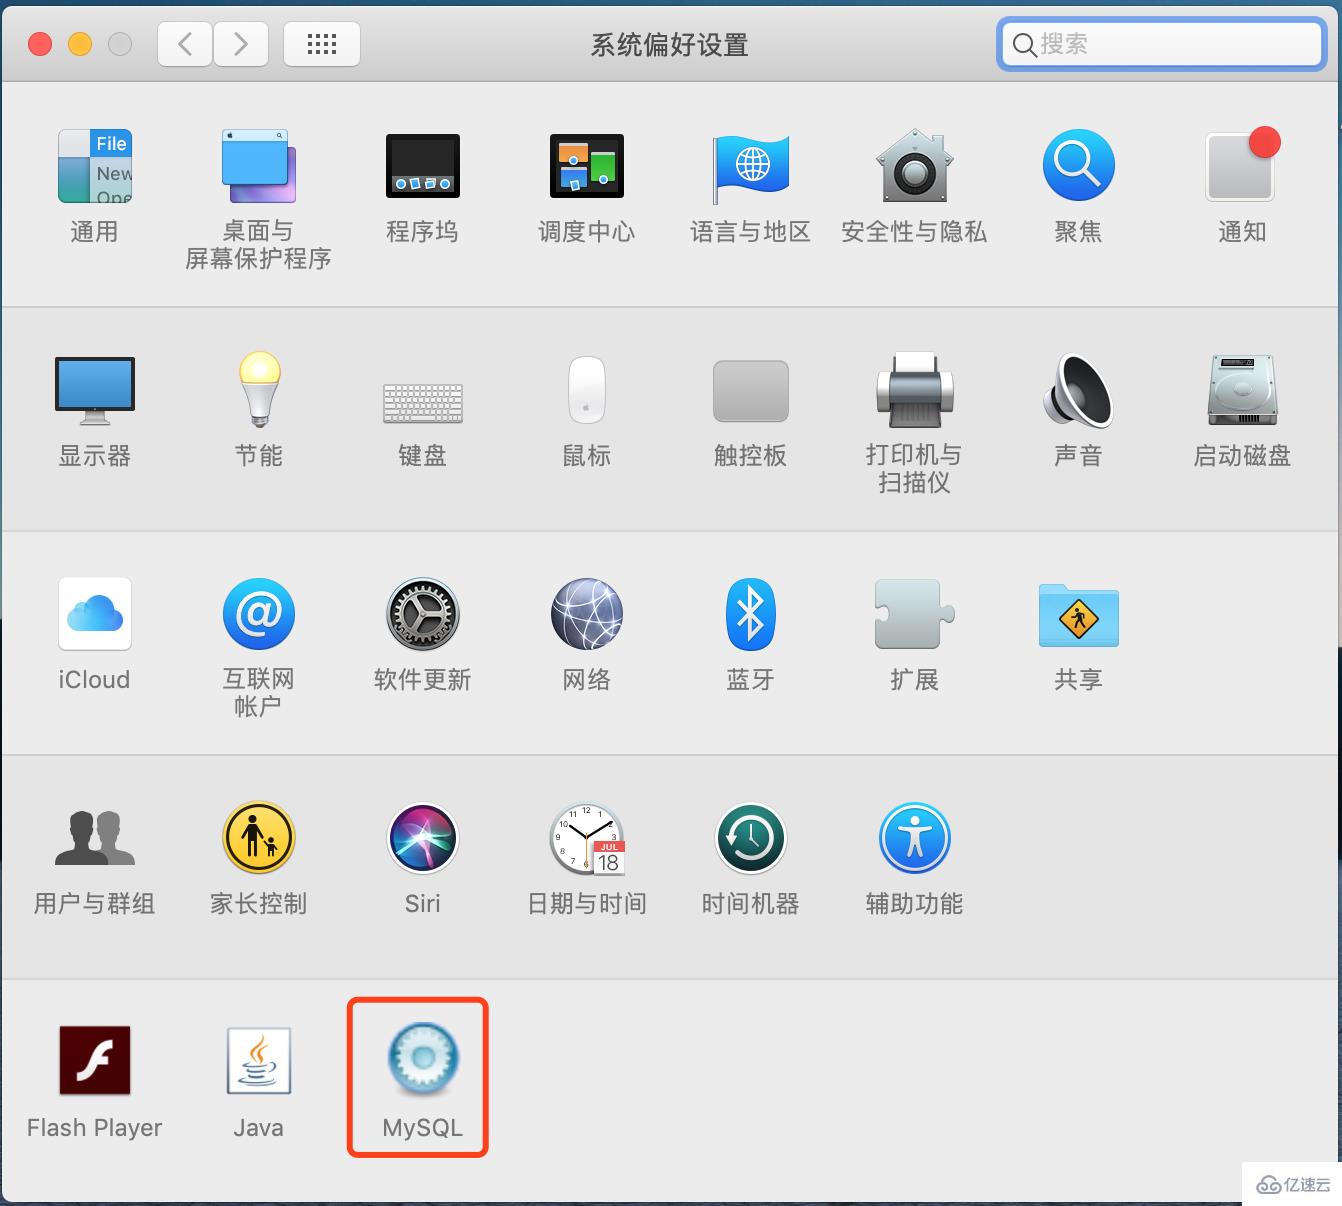
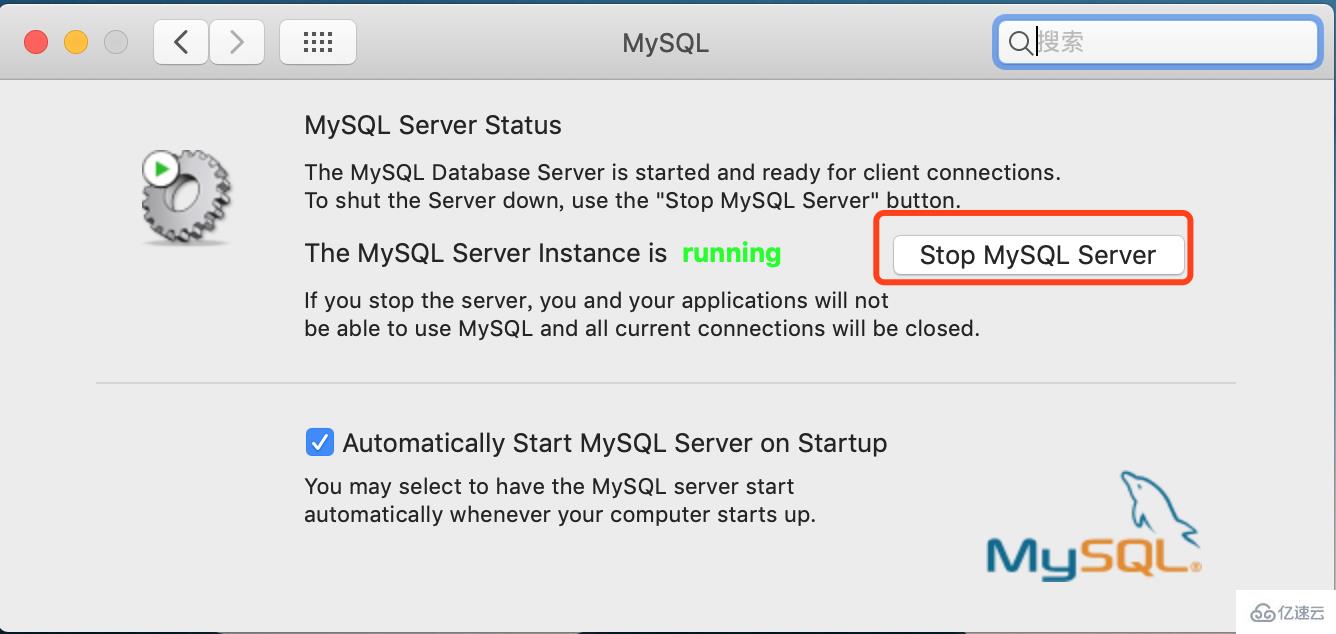
最后一步重启下mysql服务即可
以上是“如何解决mac中mysql乱码问题”这篇文章的所有内容,感谢各位的阅读!相信大家都有了一定的了解,希望分享的内容对大家有所帮助,如果还想学习更多知识,欢迎关注行业资讯频道!
内容来源网络,如有侵权,联系删除,本文地址:https://www.230890.com/zhan/158266.html