
这篇文章主要介绍“HTML jQuery如何实现简单的登录页面”,在日常操作中,相信很多人在HTML jQuery如何实现简单的登录页面问题上存在疑惑,小编查阅了各式资料,整理出简单好用的操作方法,希望对大家解答“HTML jQuery如何实现简单的登录页面”的疑惑有所帮助!接下来,请跟着小编一起来学习吧!
简介
本文用示例展示简单的登录页面的写法。
会包括如下几种方案:纯HTML、HTML jQuery(表单数据)格式、HTML jQuery(json)格式。
公共代码(后端接口)
用回弹写一个最简单的登录接口。
控制器
打包。例子。控制器;
导入com。例子。实体。loginvo
导入组织。弹簧框架。网络。绑定。注释。交叉起源;
导入组织。弹簧框架。网络。绑定。注释。后期映射;
导入组织。弹簧框架。网络。绑定。注释。请求参数;
导入组织。弹簧框架。网络。绑定。注释。休息控制器;
//跨域
@CrossOrigin
//休息风格:返回JSON
@RestController
publicclassLoginController{
@PostMapping(‘登录)
公共loginvologin(){ 0
//省略对用户名和密码的判断
loginloginvo=NewLoginvo();
loginVO.setSuccess(真);
loginvo。setdata(‘ this data ‘);
returnloginVO
}
}pom.xml
?xmlversion=’1.0 ‘编码=’UTF-8 ‘?
项目xmlns=’ http://aven。阿帕奇。org/POM/4。0 .0 ‘ xmlns : xsi=’ http://www。w3。org/2001/XMLSchema-instance ‘
xsi :架构位置=’ http://aven。阿帕奇。org/POM/4。0 .0https://aven。阿帕奇。org/xsd/maven-4。0 .0 .xsd ‘
模型版本4 .0 .0/模型版本
父母
groupIdorg.springframework.boot/groupId
artifactId弹簧-启动-启动-父/artifactId
version2.3.0.RELEASE/version
relativePath/!-看
up parent from repository –>
</parent>
<groupId>com.example</groupId>
<artifactId>demo_SpringBoot</artifactId>
<version>0.0.1-SNAPSHOT</version>
<name>demo_SpringBoot</name>
<description>Demo project for Spring Boot</description>
<dependencies>
<dependency>
<groupId>org.springframework.boot</groupId>
<artifactId>spring-boot-starter-web</artifactId>
</dependency>
</dependencies>
</project>
示例1:最简(纯HTML)
代码
login.html
<!DOCTYPE html>
<html lang="en">
<head>
    <meta charset="UTF-8">
    <title>登录页</title>
</head>

<body>

<form action="http://localhost:8080/login" method="post">
    <label for="username">用户名:</label>
    <input type="text" name="username" id="username">

    <label for="password">密码:</label>
    <input type="password" name="password" id="password">

    <!--下边这样写也可以
    <label for="username">
        用户名:<input type="text" name="username" id="username">
    </label>
    <label for="password">
        密码:<input type="password" name="password" id="password">
    </label>-->

    <button type="submit">登录</button>
</form>

</body>
</html>
测试
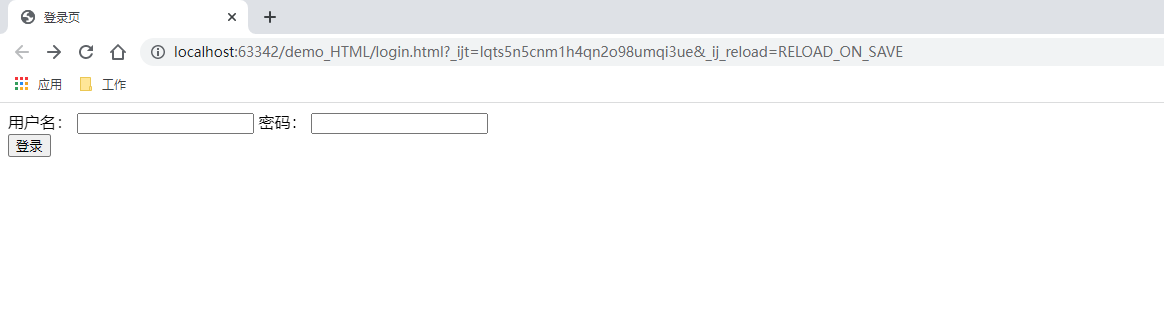
1.访问login.html
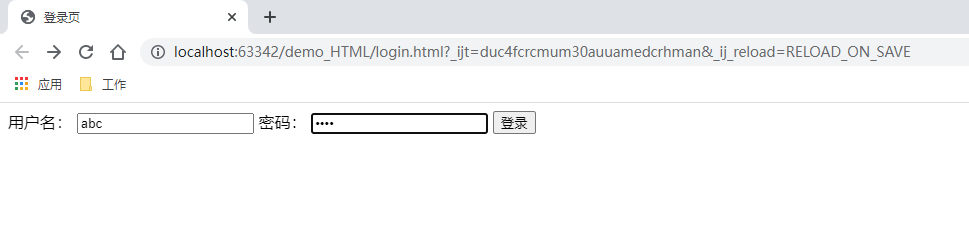

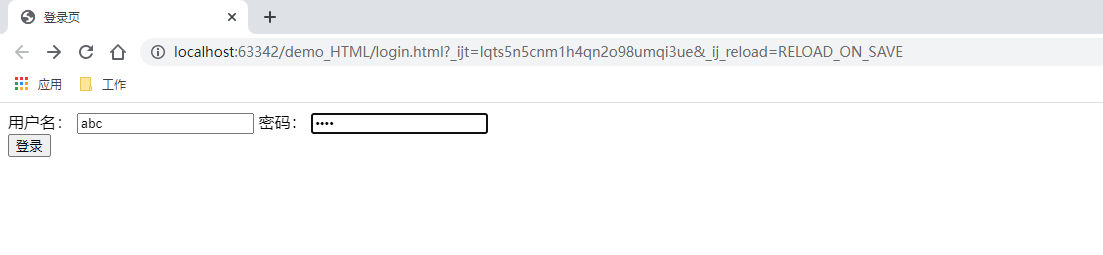
2.输入用户名和密码
用户名:输入abc;密码:输入 1234
结果
示例2:HTML+jQuery(form data)
代码
login.html
<!DOCTYPE html>
<html lang="en">
<head>
<meta charset="UTF-8">
<title>登录页</title>
<script src="https://cdn.staticfile.org/jquery/1.11.3/jquery.min.js"></script>
</head>
<body>
<form id="login-form">
<label for="username">用户名:</label>
<input type="text" name="username" id="username">
<label for="password">密码:</label>
<input type="password" name="password" id="password">
</form>
<div id="error-message"></div>
<button type="submit" onclick="loginViaFormData()">登录</button>
<script>
function loginViaFormData() {
$.ajax(
{
type: "post",
url: "http://localhost:8080/login",
data: $("#login-form").serialize(), // 序列化form表单里面的数据传到后台
//dataType: "json", // 指定后台传过来的数据是json格式
success: function (result) {
if (!result.success) {
$("#errormessage").text("用户名或密码错误");
} else if (result.success) {
alert("登录成功");
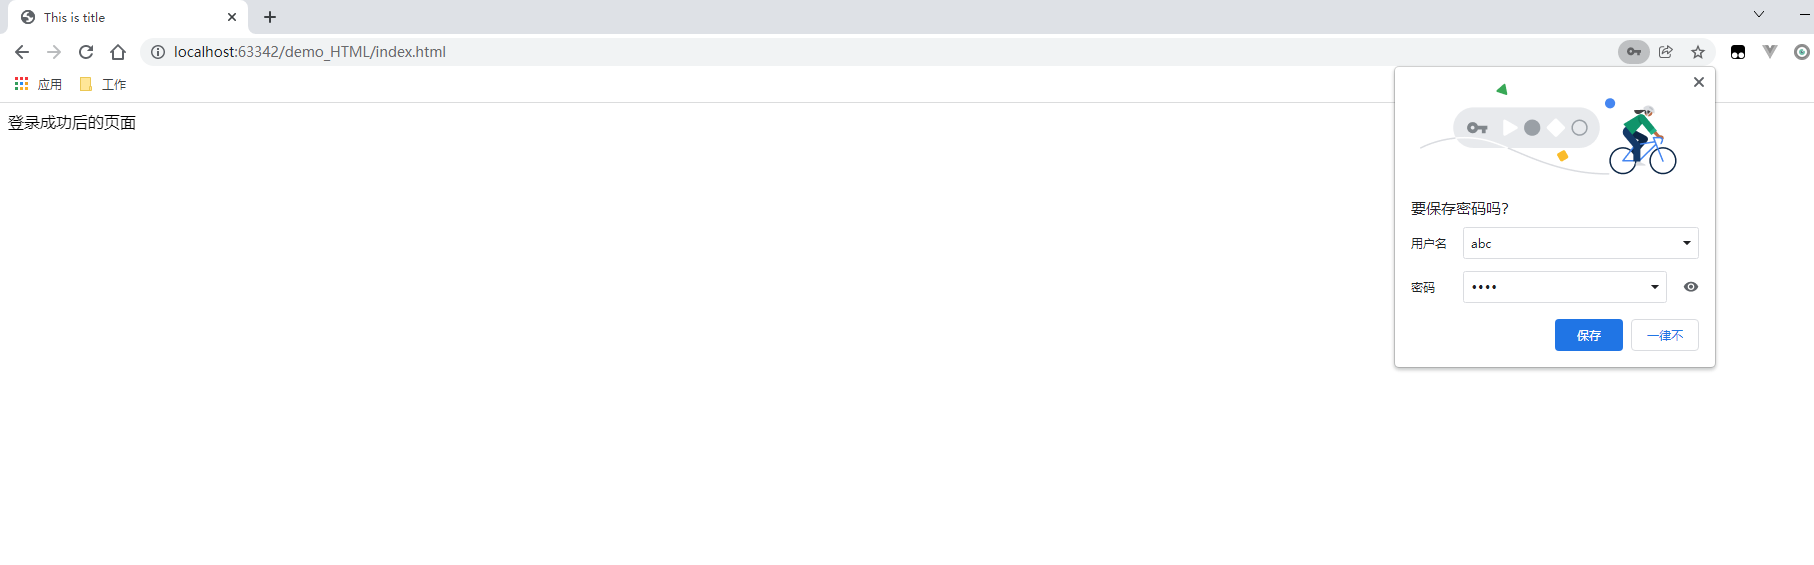
// 跳到index.html页面
window.location.href="index.html" rel="external nofollow" rel="external nofollow" ;
}
}
}
)
}
</script>
</body>
</html>
index.html
<!doctype html>
<html lang="en">

<head>
    <meta charset="UTF-8">
    <title>This is title</title>
</head>

<body>

<div class="container">
    登录成功后的页面
</div>

<script>

</script>
</body>
</html>
测试
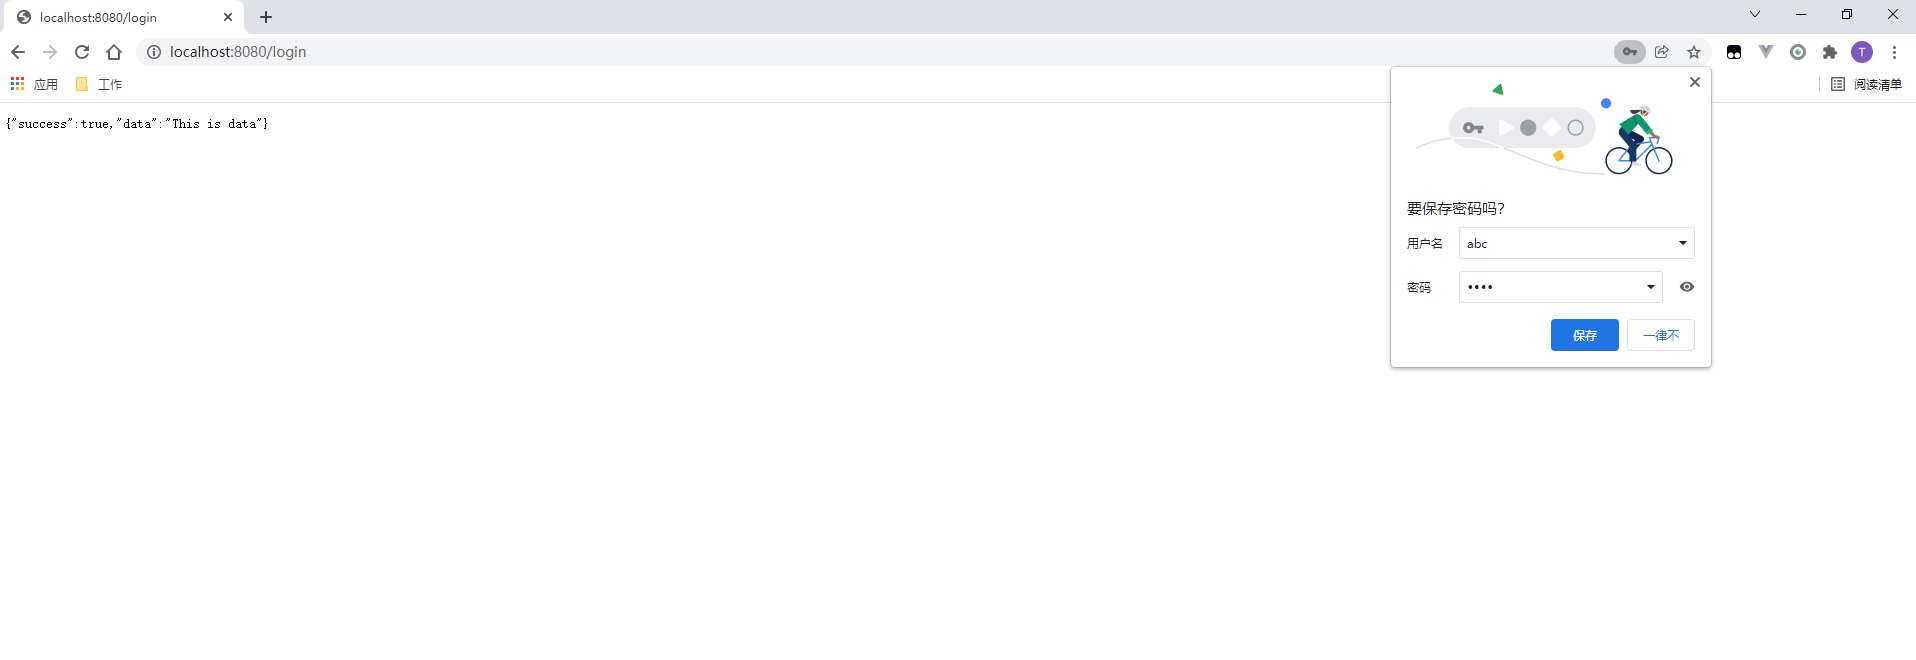
1.访问login.html
2.输入用户名和密码
用户名:输入abc;密码:输入 1234
3.点击登录
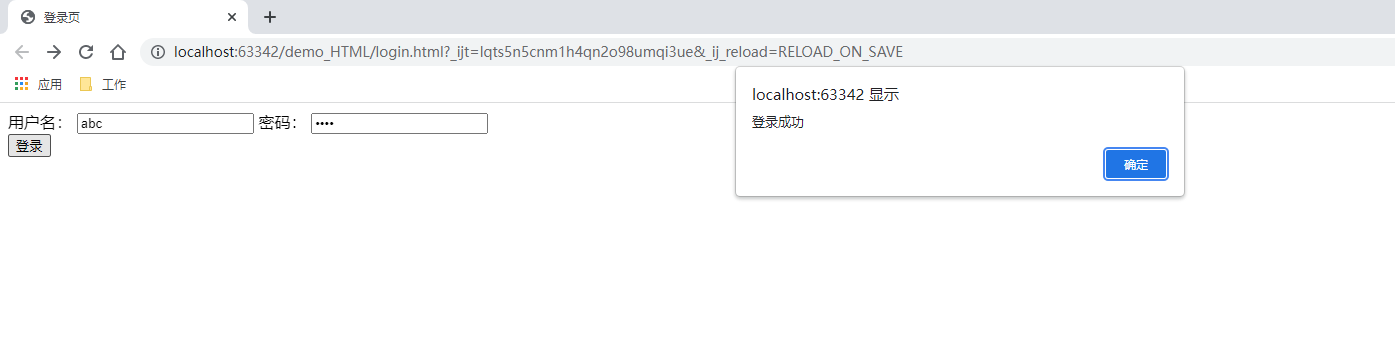
4.点击确定
示例3:HTML+jQuery(json)
代码
login.html
<!DOCTYPE html>
<html lang="en">
<head>
    <meta charset="UTF-8">
    <title>登录页</title>
    <script src="https://cdn.staticfile.org/jquery/1.11.3/jquery.min.js"></script>
</head>

<body>

<form id="login-form">
    <label for="username">用户名:</label>
    <input type="text" name="username" id="username">

    <label for="password">密码:</label>
    <input type="password" name="password" id="password">
</form>

<div id="error-message"></div>
<button type="submit" onclick="loginViaJson()">登录</button>

<script>
    function loginViaJson() {
        $.post("http://localhost:8080/login",
            //发送给后端的数据
            {
                "userName": $(".username").val(),
                "password": $(".password").val()
            },
            //回调函数
            function (result) {
                if (!result.success) {
                    $("#errormessage").text("用户名或密码错误");
                } else if (result.success) {
                    alert("登录成功");
                    // 跳到index.html页面
                    window.location.href="index.html" rel="external nofollow"  rel="external nofollow" ;
                }
            }
        )
    }
</script>

</body>
</html>
index.html
<!doctype html>
<html lang="en">

<head>
    <meta charset="UTF-8">
    <title>This is title</title>
</head>

<body>

<div class="container">
    登录成功后的页面
</div>

<script>

</script>
</body>
</html>
测试
测试结果和前边“示例2:HTML+jQuery(form data)”一样
1.访问login.html
2.输入用户名和密码
用户名:输入abc;密码:输入 1234
3.点击登录
4.点击确定
到此,关于“HTML+jQuery如何实现简单的登录页面”的学习就结束了,希望能够解决大家的疑惑。理论与实践的搭配能更好的帮助大家学习,快去试试吧!若想继续学习更多相关知识,请继续关注网站,小编会继续努力为大家带来更多实用的文章!
内容来源网络,如有侵权,联系删除,本文地址:https://www.230890.com/zhan/144753.html